1. 前言
GitHub地址:danpros/htmly: Simple and fast databaseless PHP blogging platform, and Flat-File CMS
官网:HTMLy – PHP Blogging Platform, Flat-File CMS
文档Doc:HTMLy Docs – HTMLy documentation
演示:

2. 准备
夜梦这里使用的是雨云的服务器,长期全场景九折 + 首月五折优惠链接:https://www.rainyun.com/
此项目必须使用域名。通过 namesilo 注册域名可以使用 1 美元优惠码:yemeng。
部署这个博客系统最简单的方式是用宝塔面板,具体安装方式就和wordpress类似了。但是夜梦这里想要折腾一下,所以就不使用面板了。在开始部署之前需要把环境配置好,具体可以看夜梦以前写过的两篇文章。
安装必要的php扩展:
sudo apt install php8.1-zip php8.1-xml php8.1-intl php8.1-mbstring php8.1-gd重载服务:
sudo systemctl restart php8.1-fpm
sudo systemctl restart nginx
3. 部署
3.1 下载安装程序
进入web目录,然后创建网站文件夹:
cd /var/www
mkdir htmly
因为我们使用root用户进行操作的,所以这些文件夹都需要root权限才能操作。但是我们的nginx是www-data用户,所以要把htmly文件夹的权限修改成www-data。
sudo find /var/www/htmly -type d -exec chmod 755 {} \;如果不改权限,后面访问的时候就会报错:

进入到htmly文件夹中,下载安装程序:
cd htmly
wget https://github.com/danpros/htmly/releases/download/v3.0.1/online-installer.php
3.2 修改nignx配置
进入nginx文件夹:
cd /etc/nginx方便起见,夜梦这里直接删除默认的nginx配置文件,然后新建一个空白的文件:
rm -f nginx.conf
vim nginx.conf英文输入法下按i进入编辑模式,修改下面的配置文件后(将下面所有的www.yourDomain.com改成你自己的域名)粘贴进去:
user www-data;
worker_processes auto;
pid /run/nginx.pid;
include /etc/nginx/modules-enabled/*.conf;

events {
    worker_connections 768;
    # multi_accept on;
}

http {
    ##
    # Basic Settings
    ##
    sendfile on;
    tcp_nopush on;
    types_hash_max_size 2048;
    include /etc/nginx/mime.types;
    default_type application/octet-stream;

    ##
    # SSL Settings
    ##
    ssl_protocols TLSv1.2 TLSv1.3;
    ssl_prefer_server_ciphers on;

    ##
    # Logging Settings
    ##
    access_log /var/log/nginx/access.log;
    error_log /var/log/nginx/error.log;

    ##
    # Gzip Settings
    ##
    gzip on;
    gzip_types application/atom+xml text/css text/javascript application/javascript application/json text/html text/plain text/xml application/xml application/xml+rss;
    gzip_vary on;

    ##
    # Virtual Host Configs
    ##
    include /etc/nginx/conf.d/*.conf;
    include /etc/nginx/sites-enabled/*;

    server {
        listen 80;
        server_name www.yourDomain.com;

        # Redirect HTTP to HTTPS
        return 301 https://$host$request_uri;
    }

    server {
        listen 443 ssl http2;
        server_name www.yourDomain.com;

        root /var/www/htmly;
        index index.php index.html index.htm;

        # SSL certificate files (replace with your certificate and key paths)
        ssl_certificate /etc/letsencrypt/live/www.yourDomain.com/fullchain.pem;
        ssl_certificate_key /etc/letsencrypt/live/www.yourDomain.com/privkey.pem;

        ##
        # Main Location Block
        ##
        location / {
            try_files $uri $uri/ /index.php?$args;  # Try existing file, directory, or route to index.php
        }

        ##
        # PHP processing
        ##
        location ~ \.php$ {
            include snippets/fastcgi-php.conf;
            fastcgi_pass unix:/run/php/php8.1-fpm.sock;
            fastcgi_param SCRIPT_FILENAME $document_root$fastcgi_script_name;
            include fastcgi_params;
        }

        ##
        # Deny access to hidden files (like .htaccess)
        ##
        location ~ /\.ht {
            deny all;
        }

        ##
        # Handle 404 Errors (redirect to index.php)
        ##
        error_page 404 /index.php;

    }
}这里默认跳转HTTPS,所以我们需要为我们的域名申请一个SSL证书。具体申请方式可以看夜梦以前的文章(只需要看前两节):使用Certbot工具来申请和管理Let’s Encrypt证书
4. 访问安装
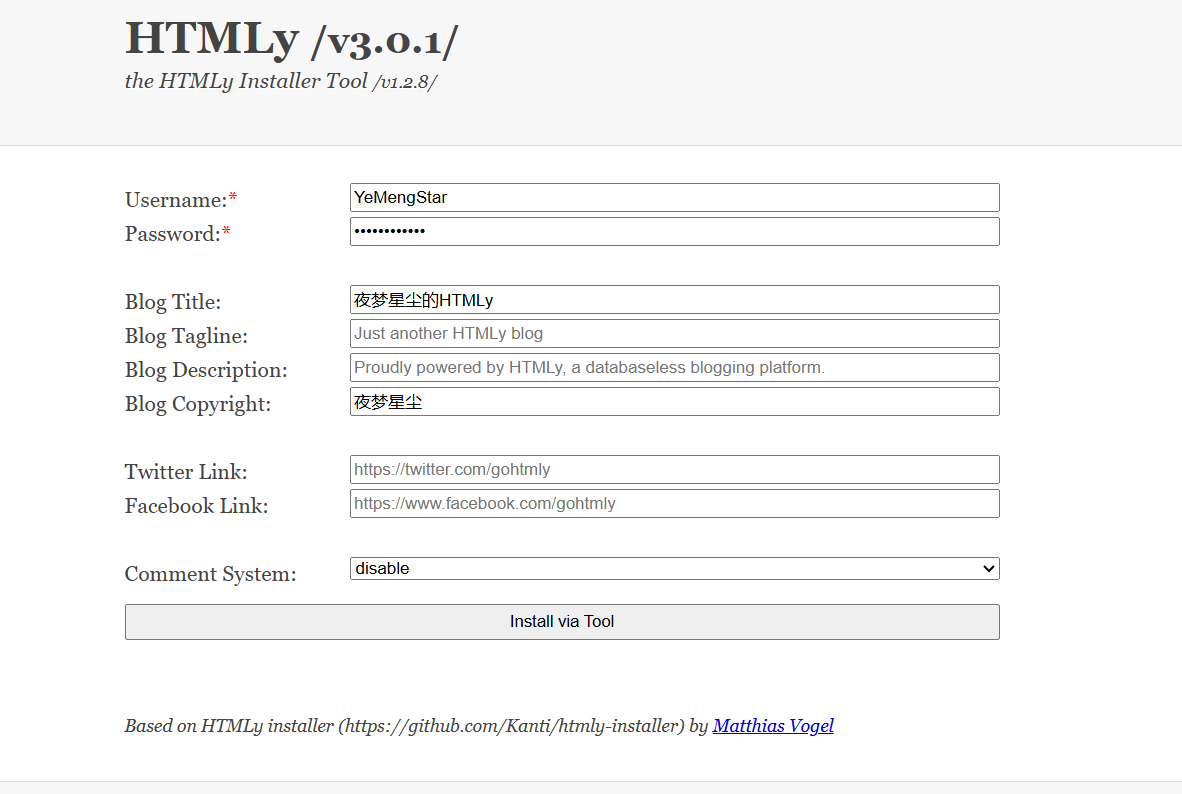
完成配置以后,我们访问https://www.yourDomain.com/online-installer.php就可以进入安装目录了。

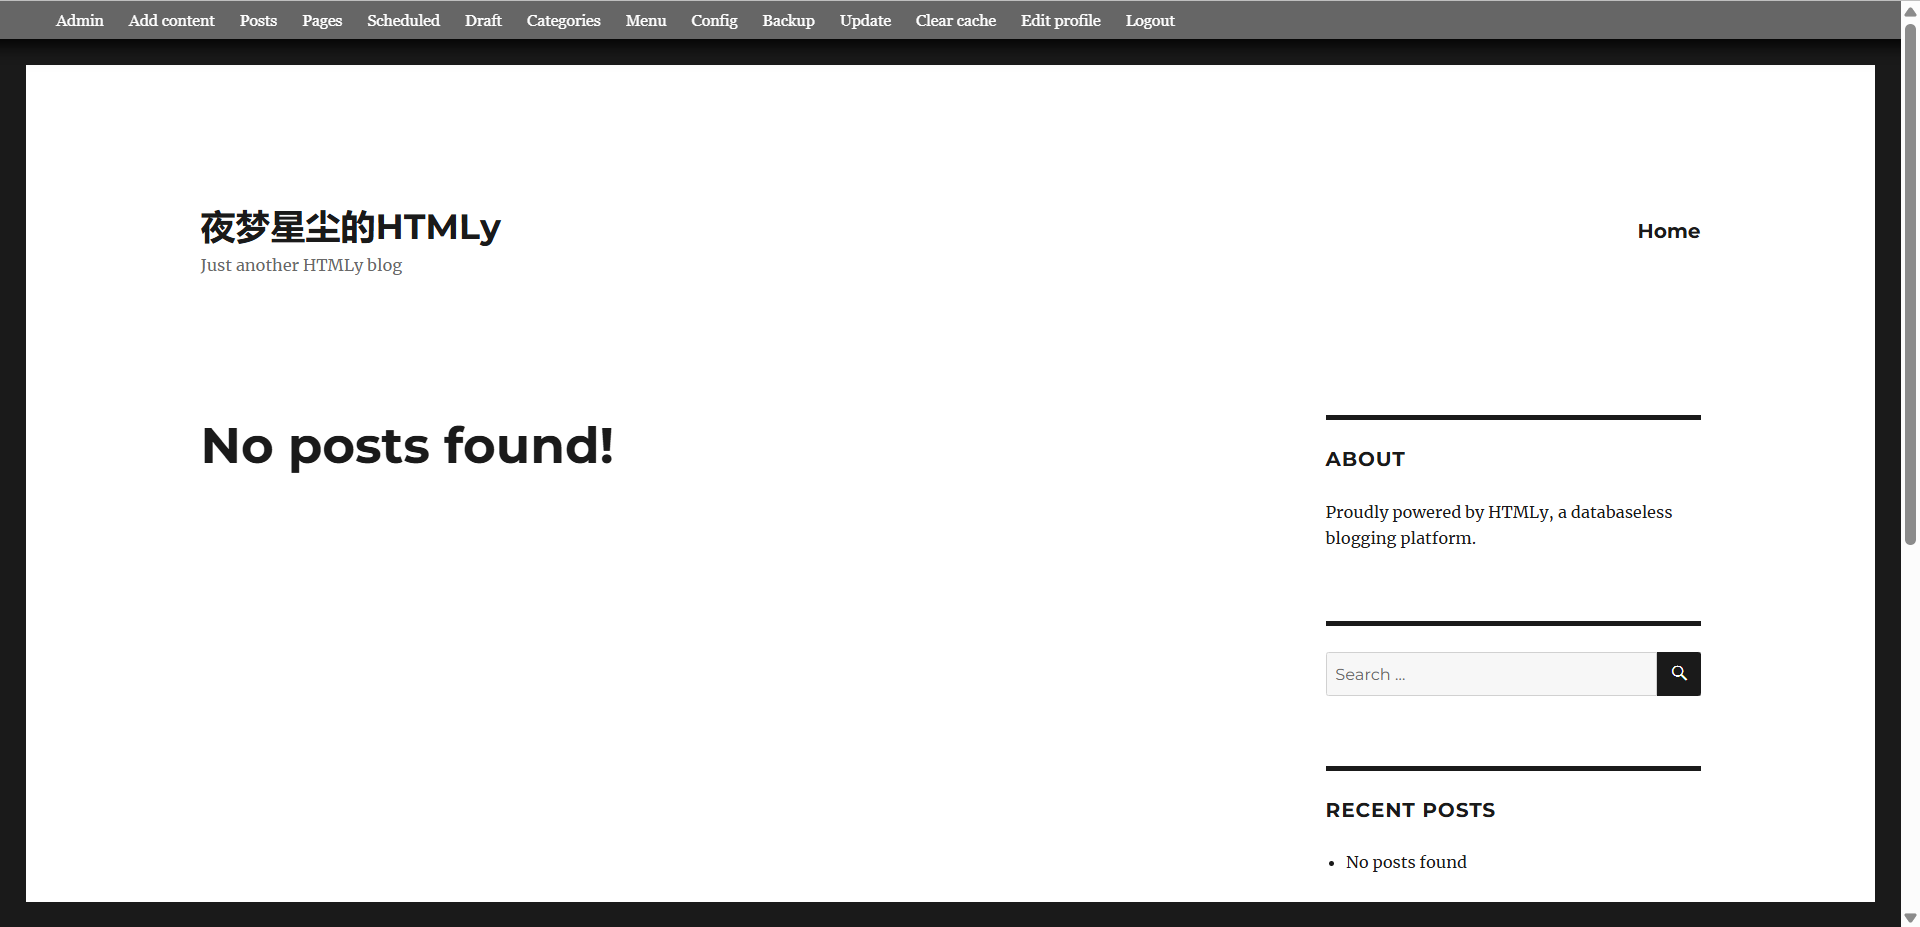
顺利访问:

后台管理直接访问https://www.yourDomain.com/login就可以了。
