本文发布于882天前,最后更新于318天前,其中的信息可能有所发展或是发生改变。如有疑问请联系邮箱:admin@yemengstar.com。
想法
最近我想到我在vultr里头还有7$的余额,那不用也是浪费,反正闲着也是闲着。奇怪的就是为什么我在vultr里头开的服务器一直都是同一个IP(隔了几个月都一样)
记得放行8008以及其他必要的端口
- 示例如下:


准备工作
- 哪吒面板作者仓库
- 准备一个域名
- 注册一个github的账户
- 准备一个服务器作为面板机,并搭建好宝塔面板。
开始搭建
1.安装宝塔
#centos
yum install -y wget && wget -O install.sh https://download.bt.cn/install/install_6.0.sh && sh install.sh ed8484bec

#Ubuntu
wget -O install.sh https://download.bt.cn/install/install-ubuntu_6.0.sh && sudo bash install.sh ed8484bec

#Debian
wget -O install.sh https://download.bt.cn/install/install-ubuntu_6.0.sh && bash install.sh ed8484bec
2.解析域名
- 解析dashboard.example.com到服务器,作为面板访问域名
- 解析link.example.com到服务器,作为服务器间通信域名
3.GitHub操作
- 目标:创建一个OAuth Apps
- 打开:Developer applications (github.com)
- 然后点击New OAuth App按钮
- 按照要求输入


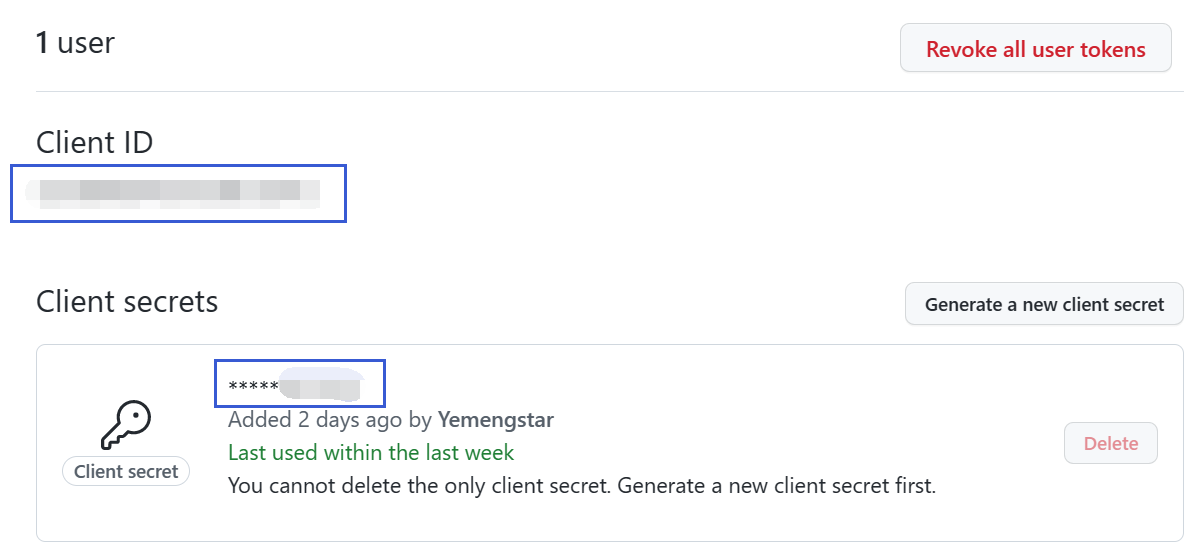
- 输入完成后,能看到OAuth Apps的Client ID和Client secrets两个数值,(其中Client secrets需要自己创建一下,请一定要在第一时间复制并保存,因为这个密钥只出现一次)保存下来。

4.部署面板
#国外机
curl -L https://raw.githubusercontent.com/naiba/nezha/master/script/install.sh  -o nezha.sh && chmod +x nezha.sh && sudo ./nezha.sh

#国内机
curl -L https://cdn.jsdelivr.net/gh/naiba/nezha@master/script/install.sh -o nezha.sh && chmod +x nezha.sh && sudo CN=true ./nezha.sh
选择1开始安装面板。(会自动安装dockers)
安装过程中按照提示输入上面GitHub中的信息。
安装完成后按0退出即可
5.宝塔面板操作
- 进入服务器宝塔后台,创建一个站点:dashboard.example.com。
- 然后网站设置,添加反向代理:
- 目标URL填写:
http://127.0.0.1 - 修改配置为:
#请把原来的代理全部删除
location /
{

proxy_pass http://127.0.0.1:8008;
proxy_set_header Host $host;
}
location /ws
{

proxy_pass http://127.0.0.1:8008;
proxy_http_version 1.1;
proxy_set_header Upgrade $http_upgrade;
proxy_set_header Connection "Upgrade";
proxy_set_header Host $host;
}
location /terminal
{

proxy_pass http://127.0.0.1:8008;
proxy_http_version 1.1;
proxy_set_header Upgrade $http_upgrade;
proxy_set_header Connection "Upgrade";
proxy_set_header Host $host;
}
5.1申请SSL证书(optional)
直接在宝塔上完成就行。
可申请宝塔测试证书(一年)或者是Let’s Encrypt证书(3个月)。
6.受控机安装
安装完面板机器sever端,接下来就是在受控机器上面安装agent端。
- 通过dashboard.example.com访问哪吒监控面板
- 登录你的GitHub账户

- 进入后台设置

- 只需要设置下面一个项目,其余按需求修改即可

- 登录后台,添加服务器

- 直接进行一键部署即可(中间那个)

- 复制Linux一键安装代码到SSH中即可安装。
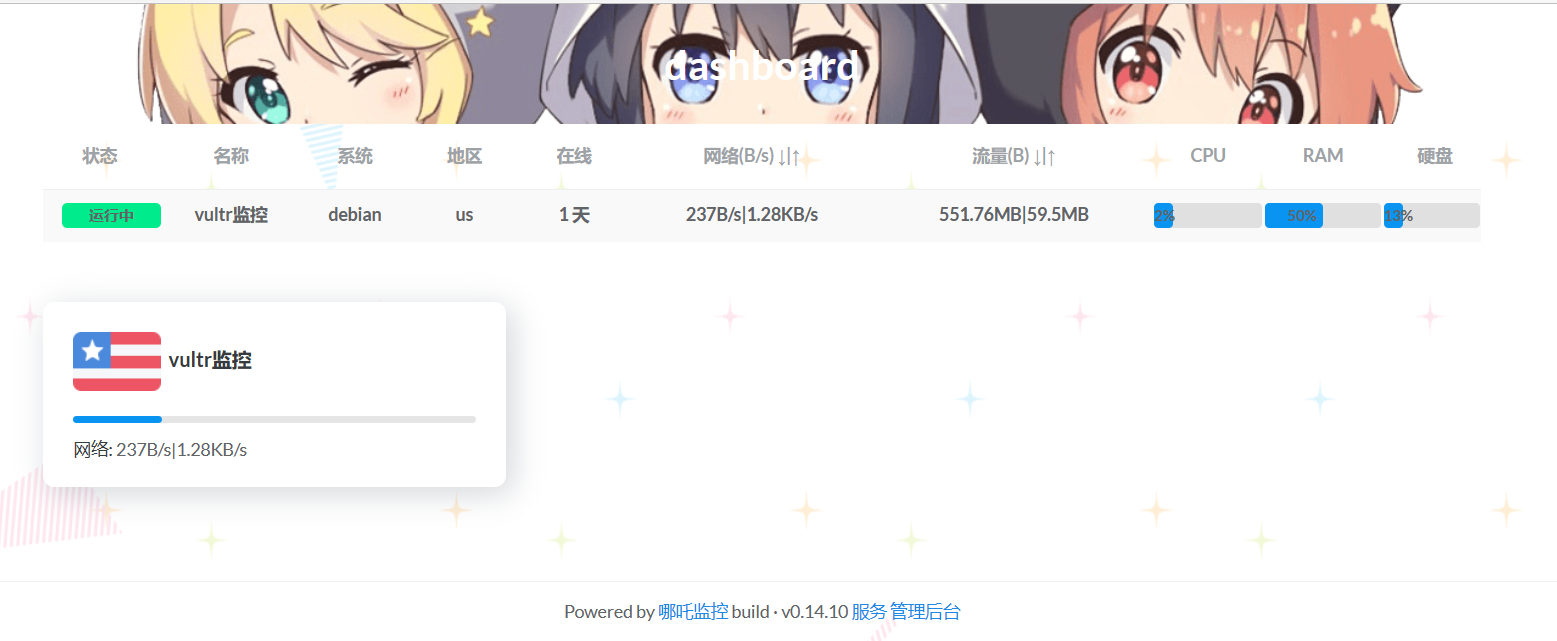
- 之后去前台刷新即可


